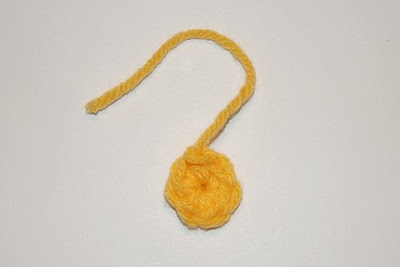
This is great method to use when you need to make many small units like tiny balls and find it easiest to use an assembly line by crocheting all Color A's first, then coming back and crocheting Color B into each piece, etc. By fastening off after each color, the pieces can wait forever without a stitch holder until you return to add the new color. Here is the same example pattern as in Parts 1-3:
Chain 2 and crochet in 2nd chain from hook or use the Magic Ring to begin a new circle:
Rnd 1: 6sc in 2nd chain or ring, join with sl st to first sc (6 sts)
Change to new color
Rnd 2: ch 1, 2sc in each sc around, join with sl st to first sc (12 sts)
Change to new color
Rnd 3: ch 1, (2sc in next sc, sc in next sc) around, join with sl st to first sc (18 sts)
Fasten off.
Color Change: Method 4

Step 1: Crochet all 6 sc in ring for Rnd 1 and join with a sl st to complete the Rnd.

Step 2: Cut yarn.

Step 3: Pull tail end through last st made to fasten off. This tail can be crocheted over in the next round to weave it in or you can save all of the tails until the end and weave them in later with a large-eyed tapestry needle.

Step 4: Insert hook into the single crochet just before the joining slip stitch of the previous round and grab the new color yarn.

Step 5: Pull the new color yarn through stitch.

Step 6: Yarn over and draw through loop to complete a single chain.

Step 7: Crochet the next stitches of Rnd 2 in the same stitch as you joined your new color in.

Step 8: Crochet the next sc into the sl st of previous Rnd.
Be sure to pull the loose cut tail (yellow in picture) taught after you crochet into the slip stitch to avoid accidentally crocheting into the first single crochet of Rnd 1 that is hiding underneath. This is marked with an X in Step 8 and the dots represent the correct stitches you should be crocheting in.
Continue Rnd 2 using new color yarn and change color for Rnd 3 in the same manner.
Here is what the completed color joins of Rnds1-3 look like.

Once mastered, I believe that this method is the most effortless and produces the most invisible join.
Wow, you make this look easy! Thanks for explaining it so well. I'll be linking.
ReplyDelete